![]()
Electrical Products & Services
Learn everything homeowners need to know about installing EV chargers, including types, costs, and maintenance tips for efficient home charging.
| Feature | Level 1 | Level 2 |
| Voltage | 120V AC | 208-240V AC |
| Power Output | 1 kW | 7-19 kW |
| BEV Charge Time | 40-50 hours | 4-10 hours |
| Range per Hour | 2-5 miles | 10-20 miles |
Bottom Line: Installing a Level 2 charger at home is faster, more convenient, and cost-effective long-term. Ensure your electrical system is ready and consider hiring a licensed electrician for safety and compliance.
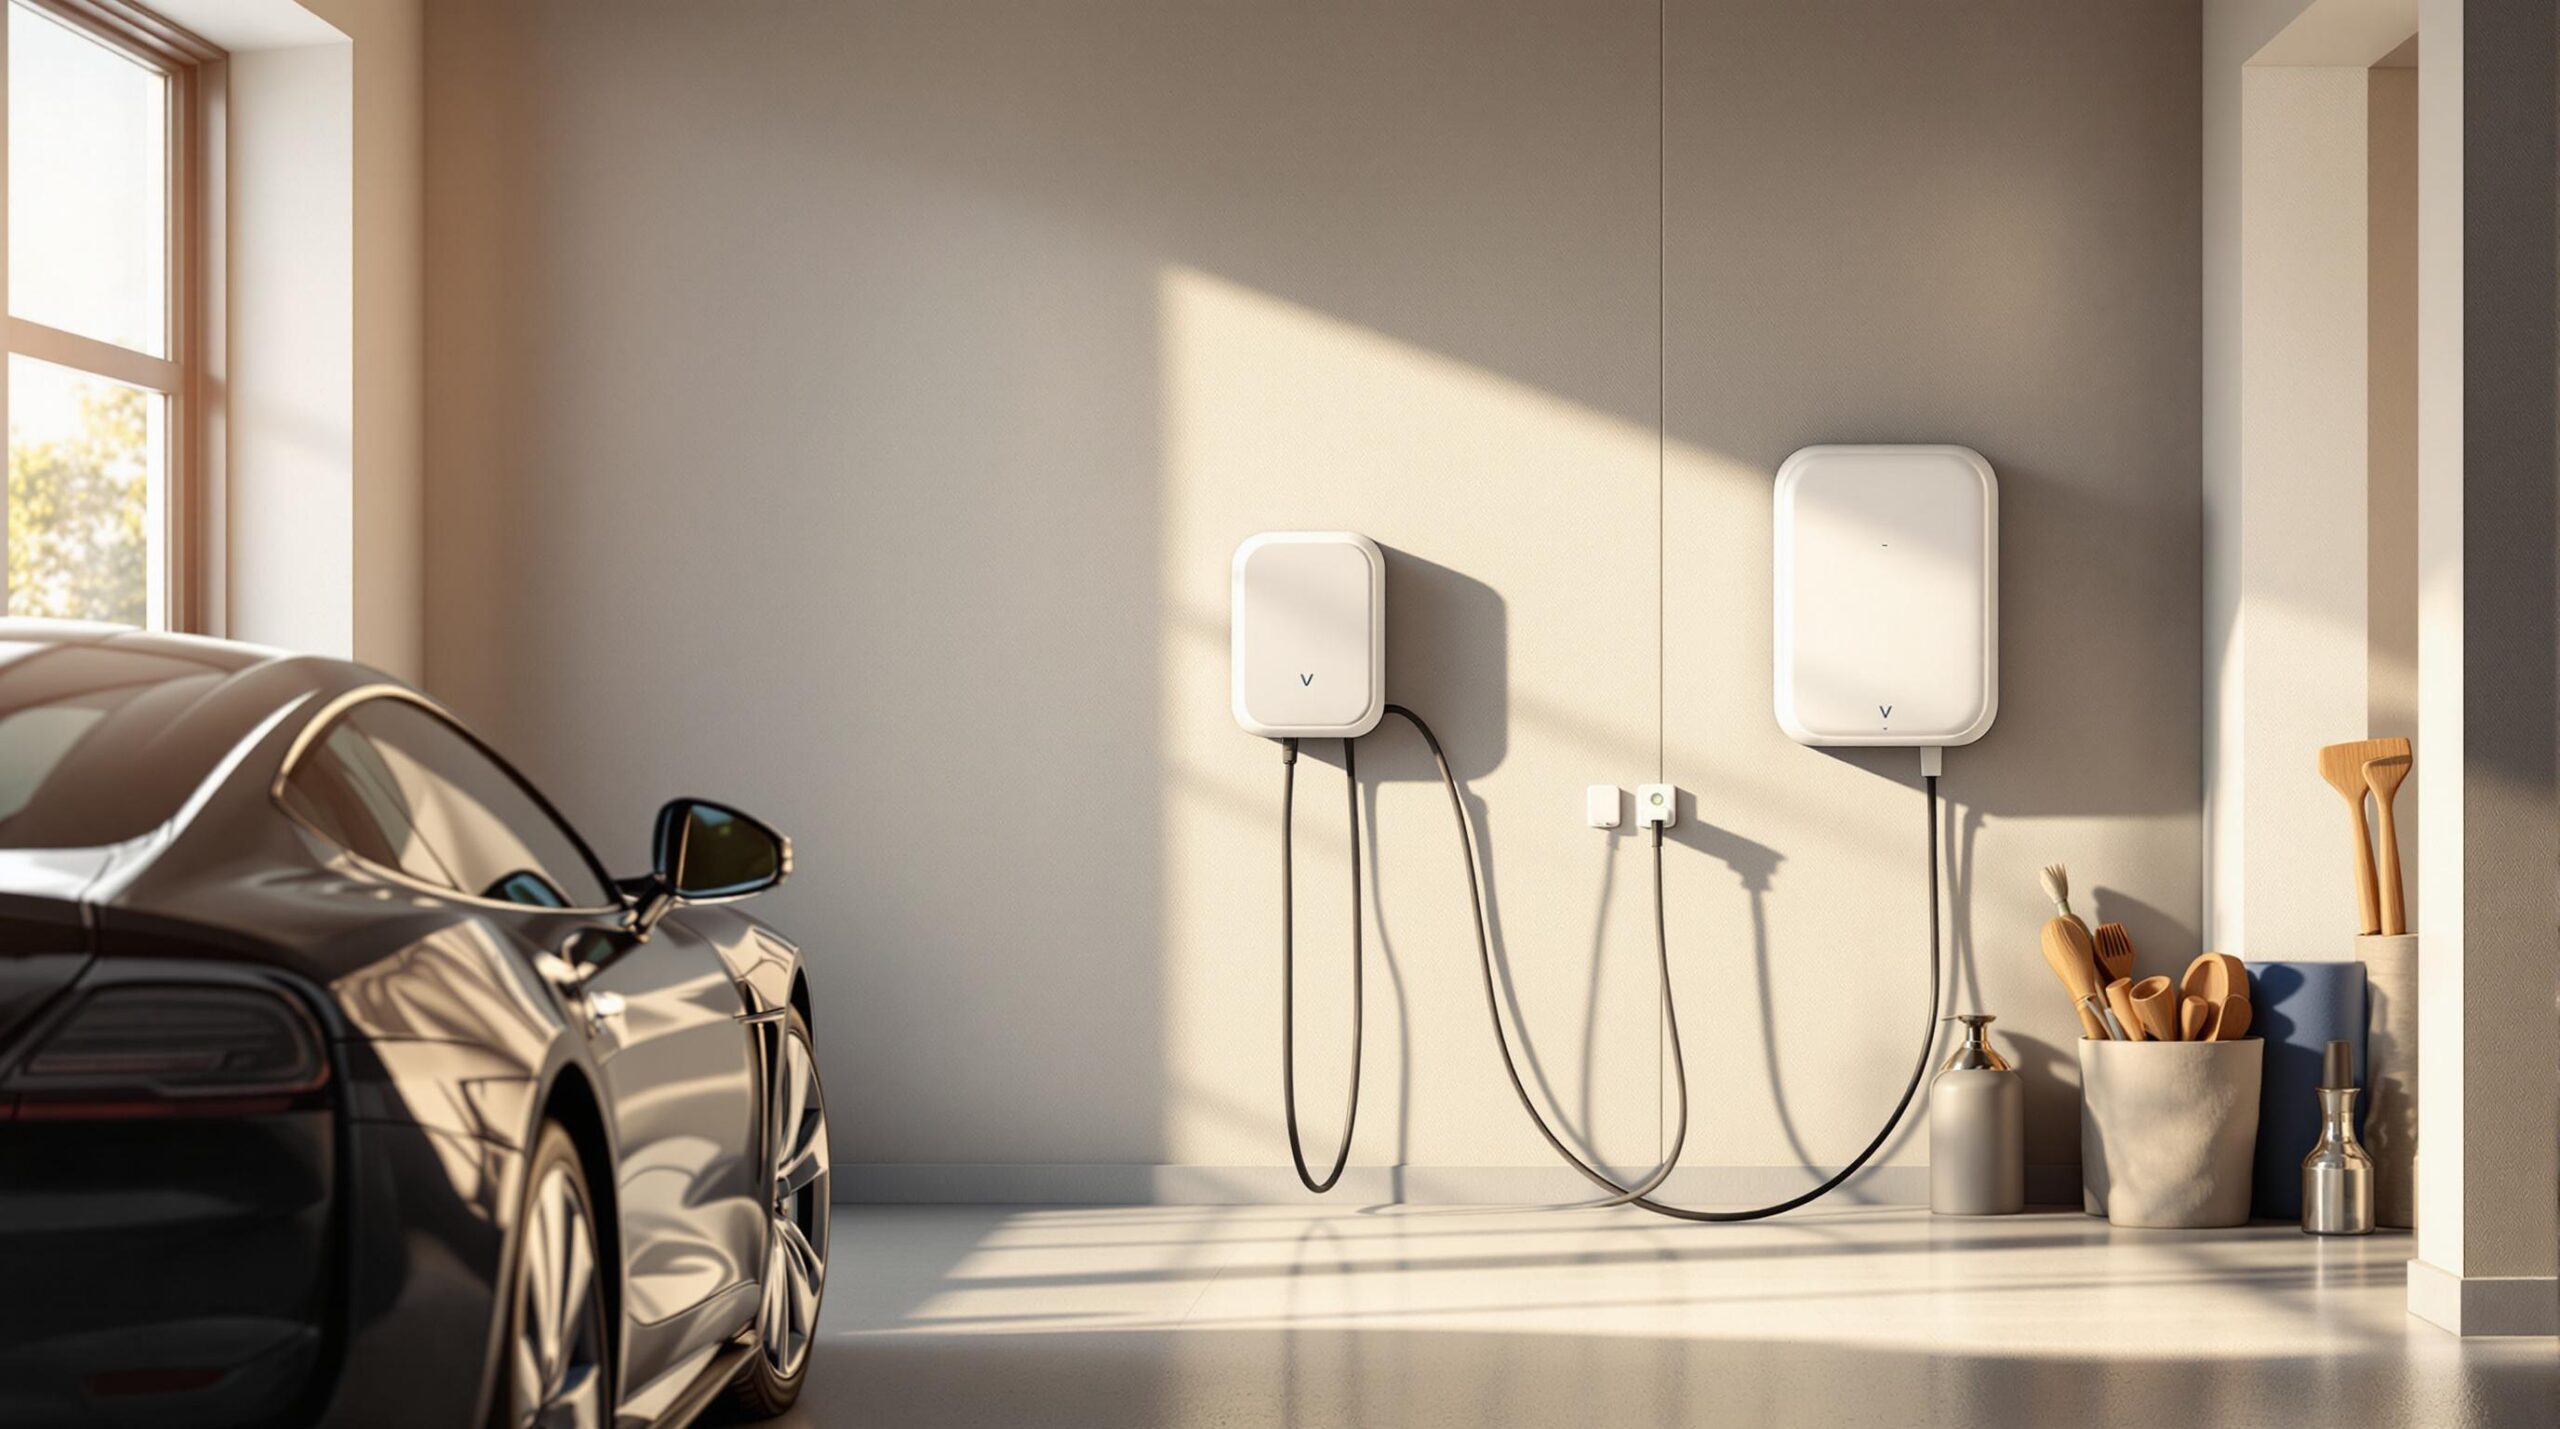
Knowing the different types of EV chargers is key when deciding which one to install at home. The two main residential options vary in speed, power needs, and installation complexity.
Level 1 charging uses a standard 120-volt household outlet. It doesn’t require any installation but is the slowest option. With a Level 1 charger, you can expect 2-5 miles of range per hour, taking about 40-50 hours to charge a battery electric vehicle (BEV) to 80% from empty.
Level 2 charging, on the other hand, is much faster, using 240-volt power. These chargers provide 10-20 miles of range per hour and can charge a BEV to 80% in just 4-10 hours.
Here’s a quick comparison of the two:
| Feature | Level 1 | Level 2 |
| Voltage | 120V AC | 208-240V AC |
| Power Output | 1 kW | 7-19 kW |
| PHEV Charge Time | 5-6 hours | 1-2 hours |
| BEV Charge Time | 40-50 hours | 4-10 hours |
| Range per Hour | 2-5 miles | 10-20 miles |
Most EVs use the J1772 connector, but the NACS (formerly Tesla Supercharger) is becoming more common. Knowing the plug type ensures you pick a compatible charger for your vehicle.
Level 2 chargers often come with added features like adjustable power settings, longer cords, and smart functions such as WiFi connectivity and scheduled charging. These extras can make charging more convenient and cost-effective, especially if you take advantage of off-peak electricity rates.
With a solid understanding of charger types, it’s time to look at how to get your home’s electrical system ready for installation.
Before installing an EV charger, it’s crucial to confirm that your home’s electrical system can handle the extra power load safely. Doing this helps avoid hazards and ensures your charger works efficiently.
Level 2 chargers usually require a dedicated 40-amp or 50-amp circuit breaker. Check if your panel has enough space for a 240V circuit breaker, sufficient amperage capacity, and proper wiring. Most modern homes have 200-amp panels, while older homes often use 100-amp service. If your home has a 100-amp panel, you’ll probably need to upgrade it to safely support a Level 2 charger.
Take a look at the power demands of your major appliances to assess your home’s electrical load. For example:
Add these numbers to the 40-50 amps required by a Level 2 charger to calculate your total needs. For instance, if your peak usage is already 100 amps and you plan to add a 40-amp EV charger, you’ll need at least a 200-amp panel to maintain a safe margin.
If your current panel lacks capacity, space for a new circuit, or has outdated wiring, upgrades will be necessary. These may include:
Once your electrical system is ready, you can move forward with the installation process, which we’ll dive into in the next section.
Before starting, confirm your electrical system is ready for the setup. This section walks you through the tools, parts, and steps needed for a smooth installation.
To install an EV charger, gather the following:
For a safe and code-compliant installation, hiring a licensed electrician is highly recommended. Look for professionals experienced in EV charger installations, familiar with NEC and local codes, and carrying proper insurance.
"Ensuring compliance with the National Electrical Code (NEC) is crucial to avoid potential legal or safety issues. Consulting a qualified electrician can help confirm system compatibility and ensure safe installation".
While you might consider a DIY approach, improper installation can lead to safety hazards, void warranties, or cause expensive repairs. A professional ensures everything is done correctly and safely.
Now that the installation is covered, let’s dive into costs and potential savings.
Understanding the expenses and potential savings tied to EV charger installation is key for homeowners aiming for a cost-effective setup.
Installing a Level 2 charger usually costs between $1,000 and $1,500, covering both equipment and labor. Here’s what influences the price:
Luckily, there are various incentives available to help offset these expenses, making the process more affordable.
Homeowners can benefit from federal tax credits of up to $1,000, along with state-specific rebates. For example, California offers rebates of up to $500. Additionally, many utility companies provide incentives and special electricity pricing plans based on usage times.
"Taking advantage of available incentives and rebates can reduce the upfront costs significantly, making home charging more accessible for homeowners".
Charging at home is typically much cheaper than using public stations. Here’s a quick comparison:
| Location | Average Cost per kWh | Monthly Cost* | Annual Savings** |
| Home Charging | $0.12 | $36 | Base cost |
| Public Charging | $0.30 | $90 | $648 |
| DC Fast Charging | $0.43 | $129 | $1,116 |
_Based on an average monthly usage of 300 kWh
_*Savings calculated relative to home charging costs
You can save even more by:
Over five years, the total cost of ownership – including a $1,000 installation fee and about $300 in annual electricity costs – comes to around $2,500. These savings often allow the upfront investment to pay off within 2-3 years when compared to public charging.
Taking care of your EV home charging station is crucial for keeping it running smoothly, safely, and for as long as possible. Regular maintenance not only ensures safety but also helps you get the most out of your investment by extending the charger’s lifespan.
Many EV chargers now come with built-in smart features like energy monitoring, remote scheduling, and maintenance alerts. These tools can help cut energy costs by up to 20%, improve charging efficiency, and make it easier to track your usage habits.
Routine checks are key to keeping your charger safe and efficient. Here are a few important tasks to keep in mind:
| Maintenance Task | Frequency | Purpose |
| Inspect cables/connectors | Monthly | Look for wear, damage, or exposed wires |
| Check mount security | Quarterly | Ensure the unit is securely attached to the wall |
| Update software | As Available | Keep smart features up to date |
"Regular maintenance checks can extend an EV charger’s lifespan by up to 5 years while ensuring consistent charging performance and safety".
If your charger is installed outdoors, protecting it from the elements is a must. Use weatherproof enclosures and opt for chargers designed to handle extreme weather, such as rain, heat, or snow. For example, the this product EV Charger is built to withstand harsh conditions, making it a solid choice for outdoor setups.
Here are some tips to safeguard your charging station:
For areas with severe weather, choose enclosures designed to handle heavy rain, intense heat, or snow, and make sure to protect cables from UV damage.
Having your EV charger installed and properly maintained is an investment that pays off over time. Setting up a home charging station requires thoughtful planning and the expertise of certified electricians to ensure everything is done safely and meets all necessary codes.
The process starts with evaluating your electrical system and selecting the right charger for your needs. Safety is critical – professional installation minimizes risks like faulty wiring or inadequate electrical capacity, which could create dangerous situations.
A professional installation not only ensures compliance with safety standards but can also boost your property value, improve energy use, and help your equipment last longer. To get the most out of your setup, make sure it’s protected from the elements and take advantage of smart features for tracking and upkeep.
As EV technology advances, partnering with skilled professionals ensures your charging station stays dependable and efficient. Routine inspections and maintenance will keep it running safely and effectively for years to come.