![]()
Electrical Products & Services
Identify and solve common electrical issues in older homes to enhance safety and reliability, from outdated wiring to circuit overloads.
Older homes often face electrical issues that can lead to safety hazards like fires or shocks. Here’s a quick breakdown of common electrical problems and how to address them:
Key Safety Tips: Always shut off power before repairs, use a voltage tester, and consult a licensed electrician for major fixes. Regular inspections can prevent over 25,000 electrical fires annually in U.S. homes.
Quick Comparison Table:
| Problem | Signs | Solution |
|---|---|---|
| Outdated Wiring | Discolored outlets, burning odors | Replace with modern copper wiring |
| Too Few Outlets | Overused extension cords | Install additional outlets |
| Undersized Electrical Panel | Frequent breaker trips | Upgrade to a larger electrical panel |
| Missing Safety Features | No GFCIs in wet areas | Install GFCIs and AFCIs |
| Poor Grounding | Two-prong outlets, electric shocks | Add grounding rods and upgrade wiring |
Don’t ignore these signs! Addressing these issues promptly ensures your home is safer and more reliable. Let’s dive into details on how to fix these problems effectively.
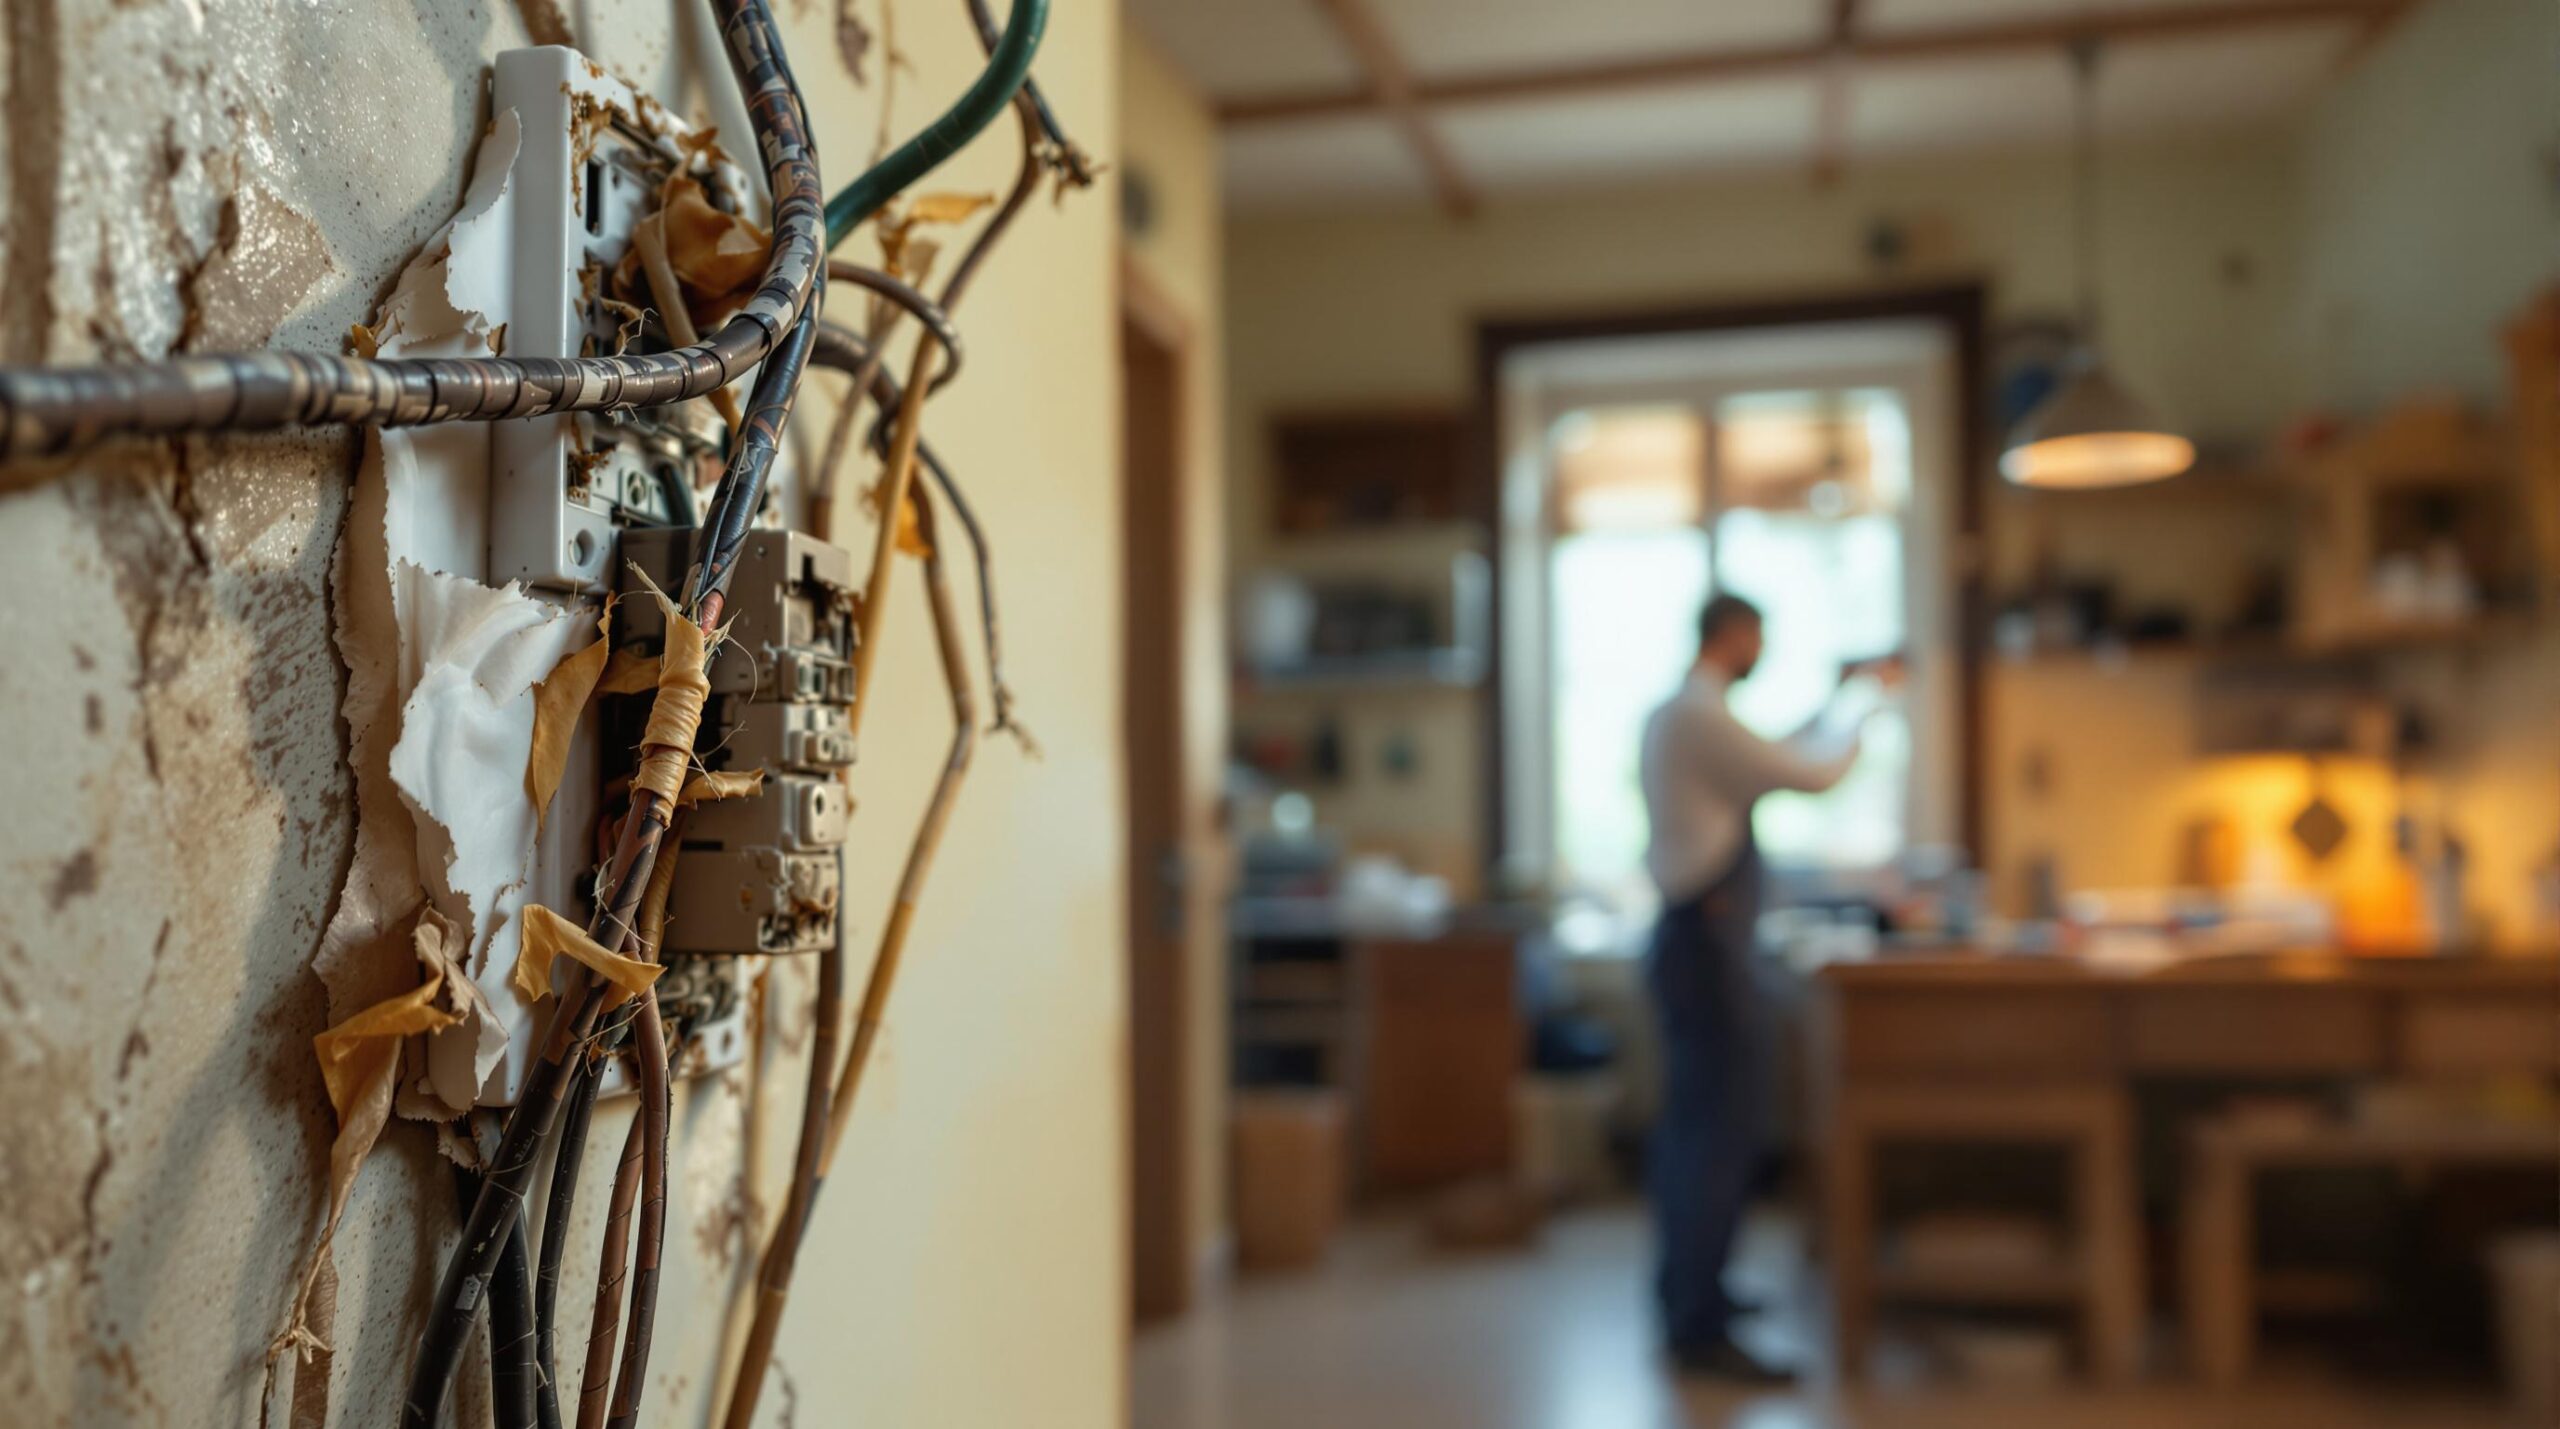
Old wiring can lead to both fire hazards and system failures. In fact, FEMA reports that electrical malfunctions are the fourth leading cause of house fires in the U.S.
The type of wiring in your home can indicate potential dangers. Here’s a quick guide to what might be lurking behind your walls:
| Wiring Type | Time Period | Key Identifiers | Major Risks |
|---|---|---|---|
| Knob-and-Tube | Pre-1940s | Ceramic knobs; tubes through joists | Prone to deterioration; can’t handle modern electrical loads, increasing fire risk |
| Aluminum | 1960s–1970s | "AL" or "Aluminum" markings on cables | Oxidizes easily, leading to loose connections and potential fires when mixed with copper |
| Cloth-Insulated | Pre-1960s | Fabric-wrapped wires with brittle covers | Insulation often deteriorates, exposing wires and creating safety issues |
Be on the lookout for these warning signs:
If you notice any of these issues, it’s likely time for a full wiring replacement.
Rewiring a home is a complex and risky job that should always be handled by a licensed electrician.
1. Professional Assessment
Hire a licensed electrician to inspect your home’s wiring. They’ll assess its condition, determine if it can handle modern electrical demands, and identify what upgrades are needed to meet current safety codes.
2. Upgrade Planning
Your electrician will create a detailed plan, including load calculations, wiring routes, a timeline for the work, and cost estimates.
3. Installation Process
During the rewiring process, professionals will:
"Electric rewiring is not one of them [DIY projects]. The stakes are just too high." – Allen Gallant
Older homes often experience circuit overloads due to outdated electrical systems. Knowing how to spot and address these problems is essential for keeping your home safe.
A circuit overload happens when more electricity flows through a circuit than it can handle safely. Watch for these warning signs:
| Warning Sign | What It Means | Immediate Action |
|---|---|---|
| Tripped Breakers | Circuit is over capacity | Unplug devices and reset the breaker |
| Dimming/Flickering Lights | High power demand on the circuit | Redistribute the electrical load |
| Warm/Hot Outlets | Possible overheating | Stop using the outlet and inspect for damage |
| Buzzing Sounds | Wiring or connection issues | Turn off the circuit and call an electrician |
| Burning Odors | Serious electrical malfunction | Cut power and contact a professional |
"Older homes were not built to accommodate the demands of today’s modern appliances and other electrical devices. It can be dangerous to overload circuits." – Terry Peterman
A 15-amp circuit can safely handle up to 1,440 watts, while a 20-amp circuit can manage up to 1,920 watts (both at 80% capacity). Here’s how to address overloads:
If needed, consider professional upgrades, which typically range from $150 to $500 depending on the work required. Options include:
These steps can help manage circuit issues until a professional evaluation or further upgrades are made.
Faulty electrical outlets and switches in older homes can lead to serious safety concerns, including the risk of electrical fires and shocks. Knowing how to spot and address these problems is key to keeping your home safe.
Damaged outlets and switches often show clear signs that something’s wrong. Here are the most common warning signs and what they mean:
| Warning Sign | What to Look For | Risk Level |
|---|---|---|
| Physical Damage | Cracks, burns, or discoloration | High |
| Temperature Issues | Outlet feels warm or hot to touch | Severe |
| Connection Problems | Plugs fall out or fit loosely | Moderate |
| Unusual Sounds | Buzzing noises | High |
| Performance Issues | Flickering lights when plugged in | High |
| Burning Odors | Smoke or electrical burning smell | Severe |
If you notice any of these signs, it’s time to act. Follow the steps below to safely replace the faulty outlet or switch.
Before starting any electrical work, prioritize safety. Always wear protective gear and confirm the power is off using a voltage tester.
If your home has outdated two-prong outlets, you might want to upgrade to three-prong GFCI outlets. Keep in mind that this may require additional grounding work, which is best handled by a professional electrician.
For more complicated issues – like multiple outlets failing on the same circuit, signs of electrical arcing, or complex wiring – it’s wise to call a licensed electrician. Addressing these problems quickly can greatly improve your home’s electrical safety.
Good grounding is essential for safely managing excess electrical current, especially in older homes. Many homes built before 1965 often lack proper grounding, increasing the risk of electrical shocks and fires.
Here are some signs that your home might have grounding issues:
| Warning Sign | What It Indicates | Risk Level |
|---|---|---|
| Two-Prong Outlets | Likely ungrounded system | High |
| Shock When Touching Metal | Possible current leakage due to poor grounding | Severe |
To test your home’s grounding, consider these steps:
These checks can help determine if your system needs an upgrade.
Addressing grounding issues requires a thorough evaluation of your home’s electrical system. As In-House Electric explains, "Electricity is nothing to play around with. You never want to underestimate the power of electricity, and you should protect yourself through preparations, like grounding your home’s electrical system."
Here’s a breakdown of typical grounding costs:
| Service | Average Cost Range |
|---|---|
| Ground Rod Installation | $100 – $300 |
| Grounding Wire | Up to $8 per linear foot |
| Professional Labor | $50 – $100 per hour |
| Connection Installation | $130 – $170 each |
To upgrade your grounding system, follow these steps:
"Electricity is dangerous. Even with proper electrical grounding, only professionally trained electricians should work on your home’s electrical systems. Accidents involving electricity can result in property damage, personal injury, or even death." – Watson’s Charging Stations & Electric
Depending on your home’s size and current setup, a full grounding upgrade can cost upwards of $4,000. While the investment may seem high, it’s crucial for ensuring safety and long-term reliability.
Flickering or dimming lights in older homes can be a warning sign of electrical issues that shouldn’t be ignored. Data shows that electrical malfunctions caused 13% of all home fires from 2014 to 2018[1], highlighting the importance of regular upkeep for safety.
In older homes, lighting problems often come down to a few common causes:
| Issue | Symptoms | Risk Level |
|---|---|---|
| Loose Connections | Buzzing sounds, occasional flickering | Moderate |
| Circuit Overload | Lights dim when appliances start | High |
| Outdated Wiring | Flickering across multiple fixtures | Severe |
| Dimmer Incompatibility | Strobing effect, buzzing | Low |
The way your lights behave can reveal the problem. For example, if your lights dim briefly when large appliances like air conditioners kick on, it’s likely a circuit overload. On the other hand, buzzing and constant flickering often point to loose wiring, which needs immediate attention.
Follow these steps to tackle flickering lights before they turn into bigger problems:
For more serious issues – like hot switches or strange noises – it’s time to call a licensed electrician. They can handle tasks like upgrading old wiring, installing dedicated circuits, or fixing loose connections to keep your home safe. Don’t delay addressing these signs, as they could pose serious risks.
To ensure lasting electrical safety, it’s essential to follow practical steps like scheduling regular inspections and addressing issues promptly with professional repairs.
Stay ahead of potential problems by watching for these warning signs and taking the right steps:
| Warning Sign | Action to Take |
|---|---|
| Frayed or Cracked Cords | Replace as soon as possible |
| Discolored Outlets | Schedule a professional inspection |
| Monthly GFCI Tests | Perform tests consistently |
| Buzzing Sounds | Contact an electrician for evaluation |
This checklist can help you decide when it’s time to call in a professional.
Certain issues call for immediate attention from a licensed electrician. These include:
While you can handle minor fixes like replacing cords, internal wiring and complex repairs should always be left to certified professionals. For in-depth inspections or upgrades, consider reaching out to trusted companies like Draper Electric. If you’re thinking about system improvements, options like home standby generators can provide added peace of mind during power outages.